
 0120-79-2323


施工事例
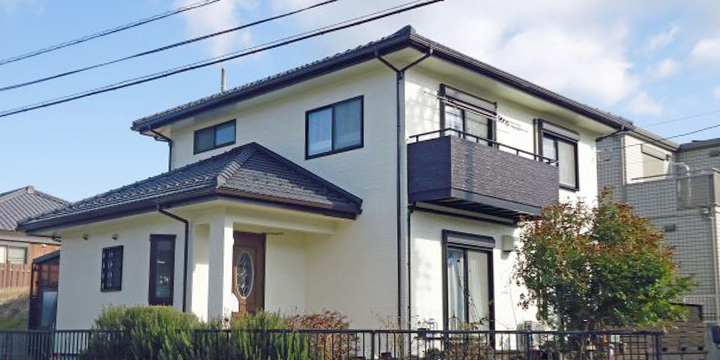
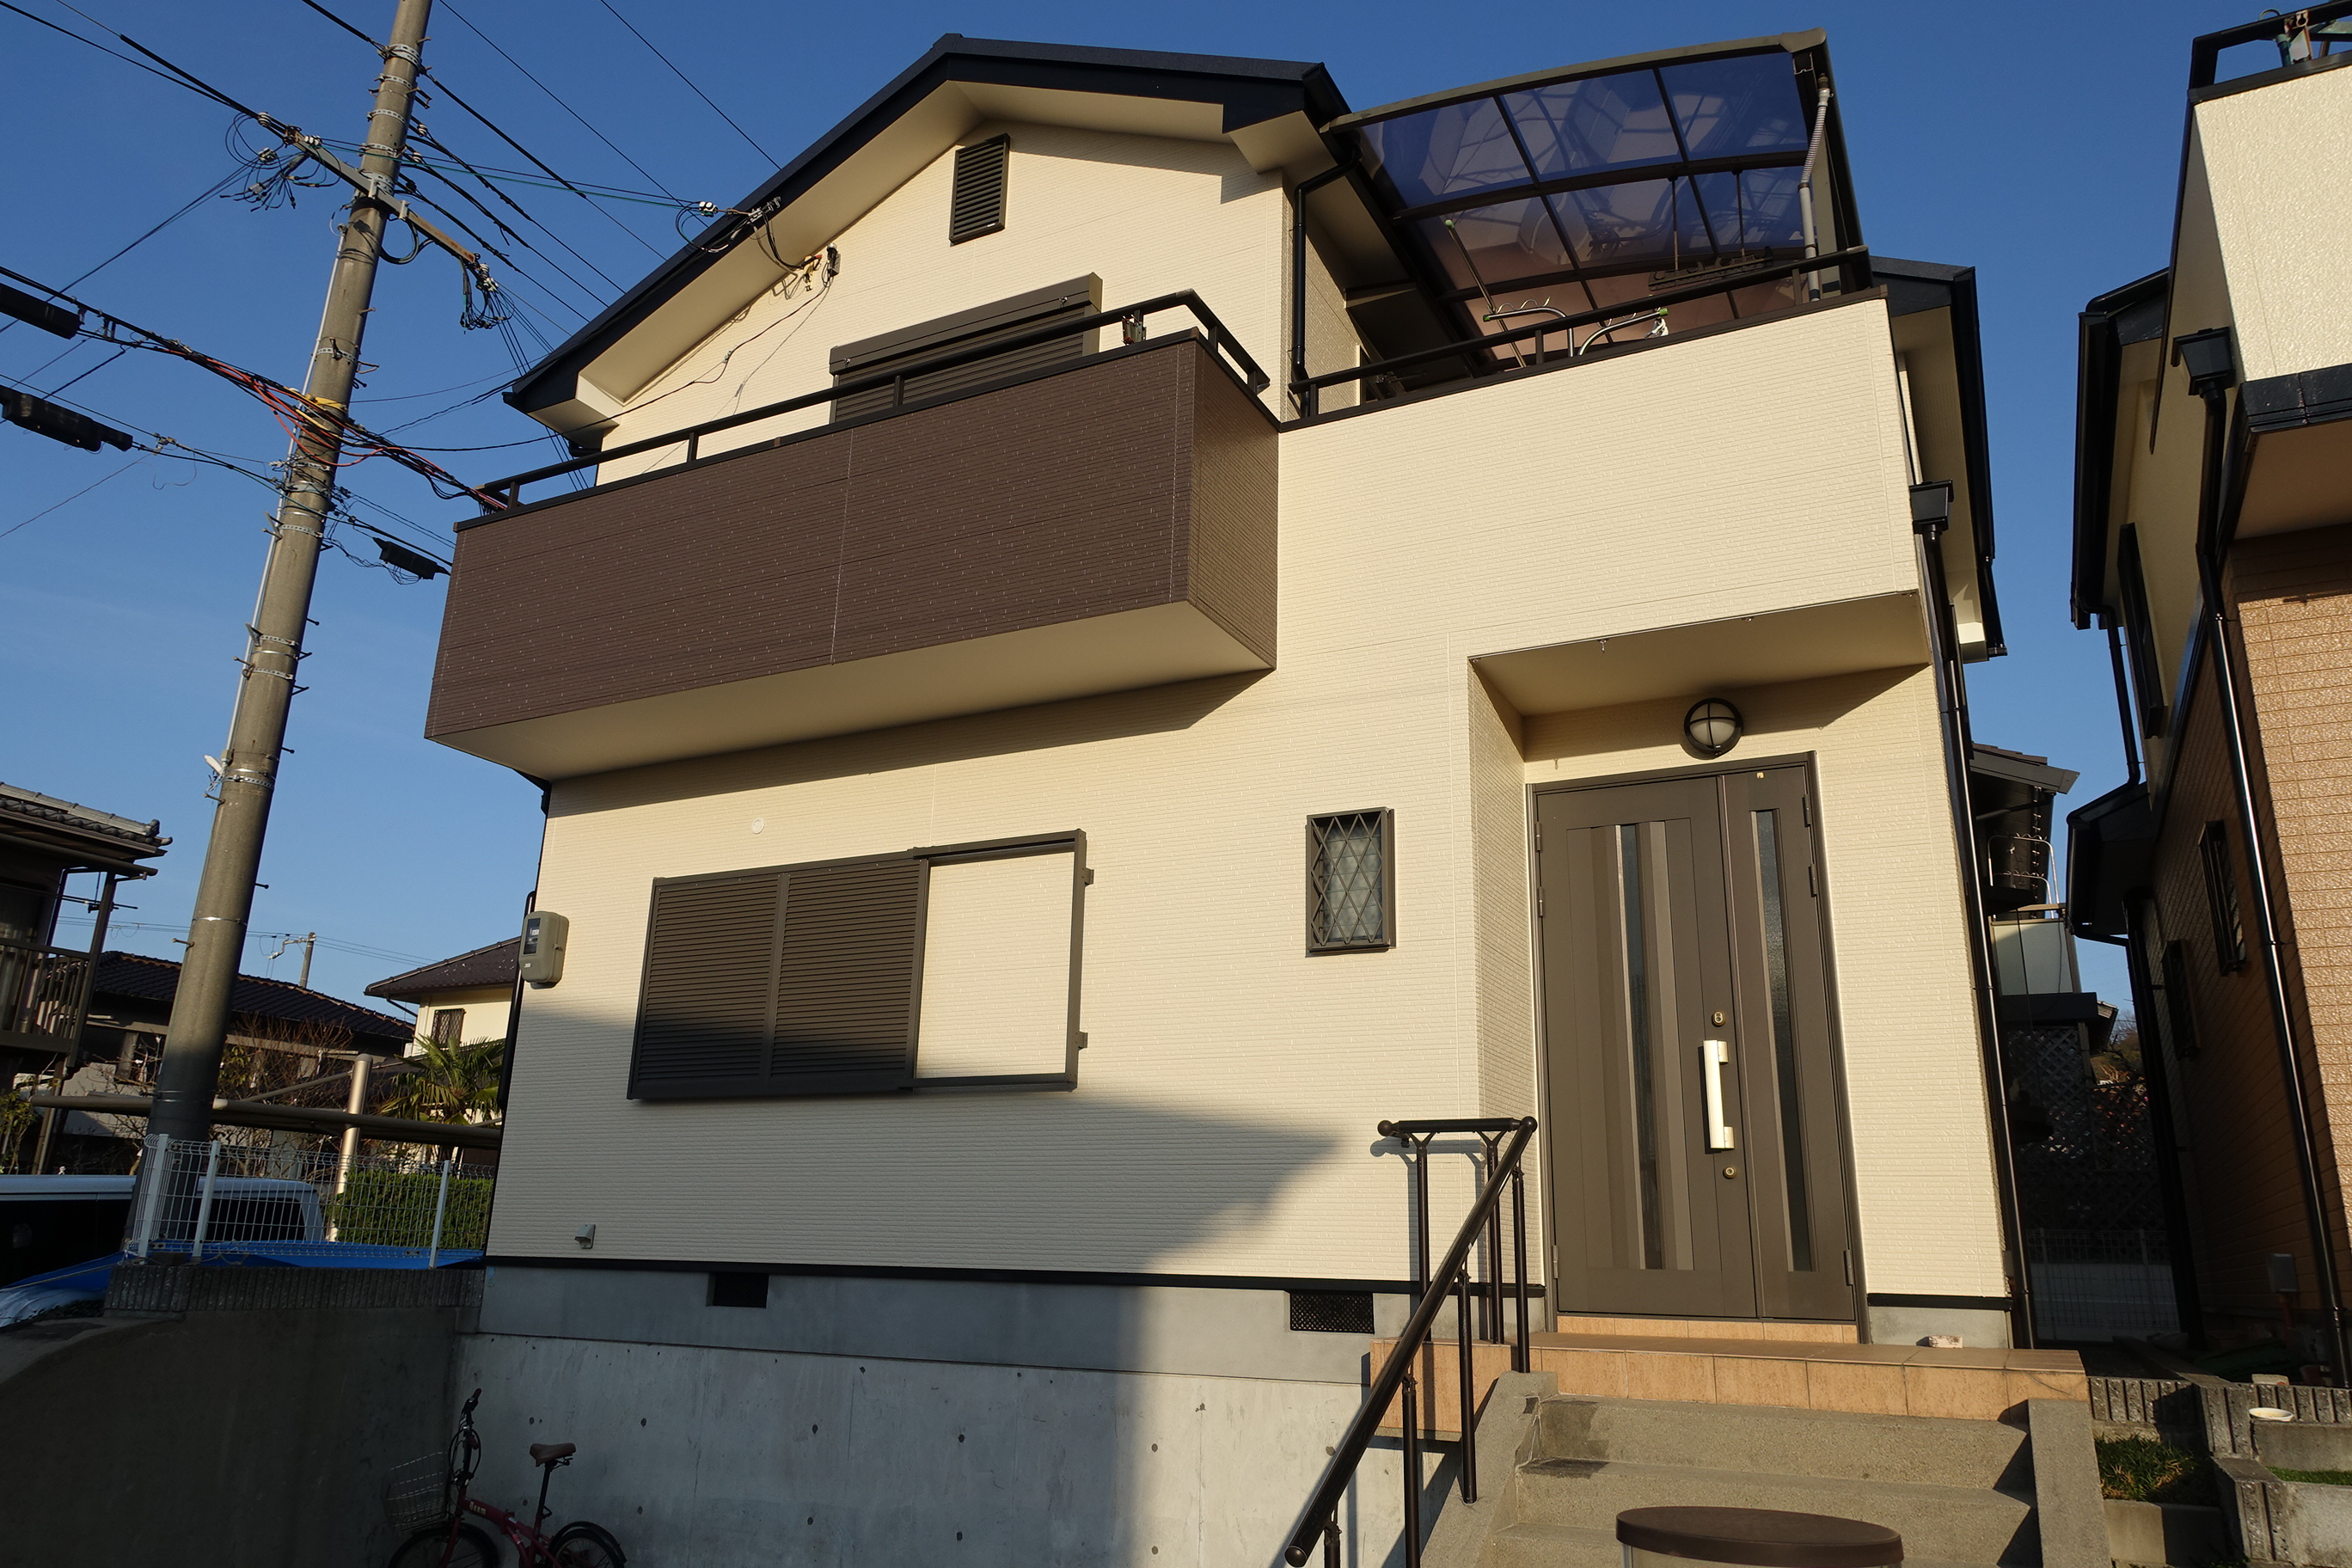
【神戸市北区】外壁塗装と屋根塗装工事 N様邸
- カテゴリー
- 北区
- 神戸市
- 外壁塗装
- 屋根塗装
HPからのお問い合わせ

| 施工内容 | 外壁塗装・屋根カバー工法 |
| 施工期間 | 約4週間 |
| プラン内容 | シリコンプラン |
| 価格 | Fair price |
| 外 壁 |
メーカー | アステックペイント |
|---|---|---|
| 使用塗料 | アステックペイント シリコンREVO1000(標準色A) |
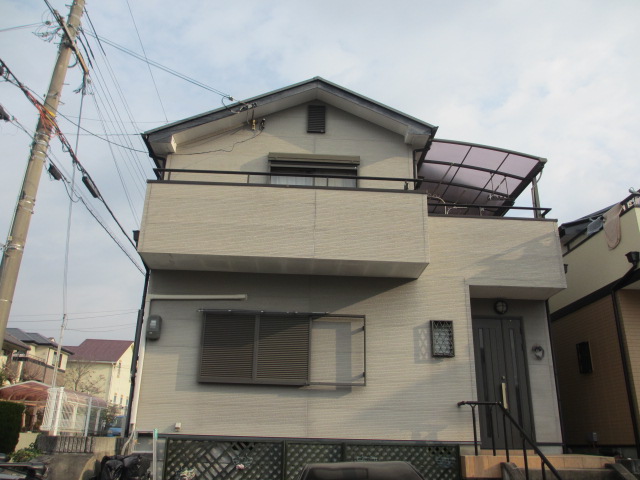
施工前
■高圧洗浄
安定した足場を1日かけて組み立てます。
高圧洗浄時近隣にご迷惑が掛からないように、しっかりとシートを張ります。
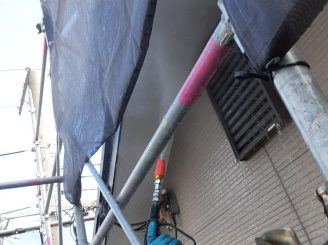
高圧洗浄で旧塗膜や汚れを落とします。軒裏天井高圧洗浄中
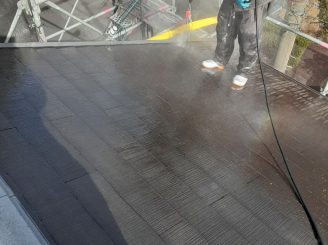
屋根部分高圧洗浄中
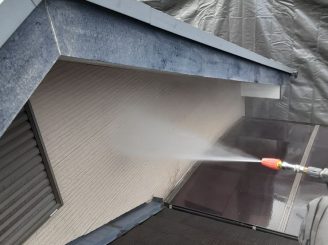
外壁部分高圧洗浄中
ベランダ床部分高圧洗浄中
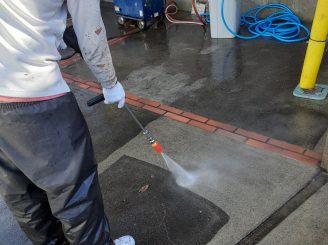
駐車場部分も一緒に高圧洗浄で綺麗にします。
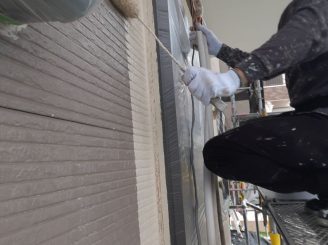
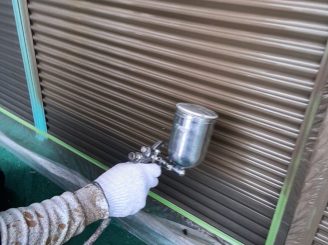
■外壁塗装

今回使用する塗料です。下塗り材:エポパワーシーラー 上塗り材:シリコンREVO1000
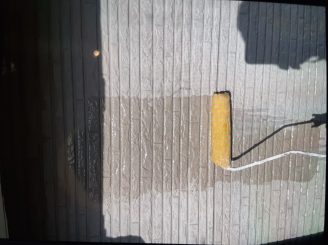
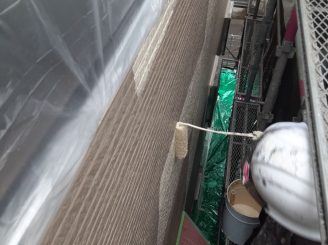
高圧洗浄後、よく乾かしてから下塗りを施工します。外壁下塗り施工中
外壁下塗り施工中
外壁下塗り施工中
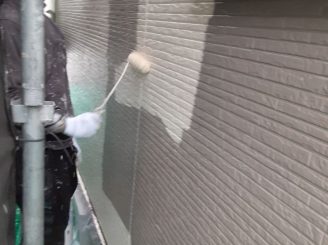
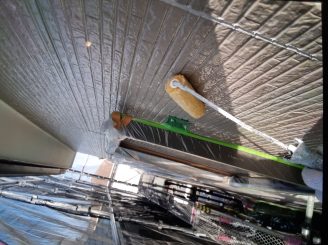
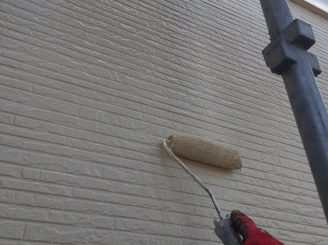
下塗り施工後、塗り重ね乾燥時間(インターバル)を厳守し、上塗り1回目を施工します。上塗り1回目施工中
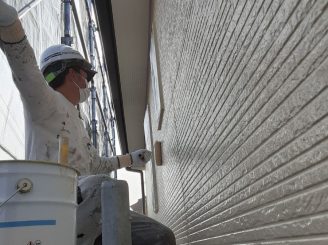
外壁上塗り1回目施工中
外壁上塗り1回目施工中
外壁上塗り1回目施工中

外壁ベランダ部分上塗り1回目施工中
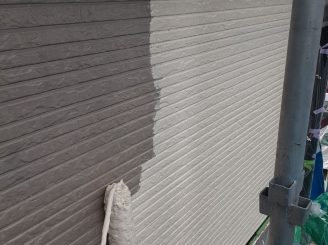
上塗り1回目施工後、塗り重ね乾燥時間(インターバル)を厳守し、上塗り2回目を施工します。上塗り2回目施工中
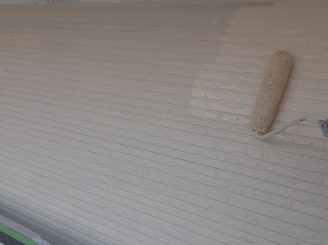
外壁上塗り2回目施工中
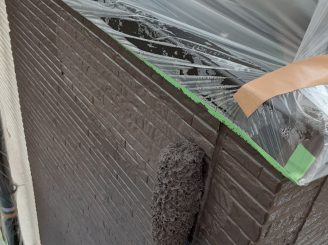
外壁ベランダ部分上塗り2回目施工中
外壁上塗り2回目施工中
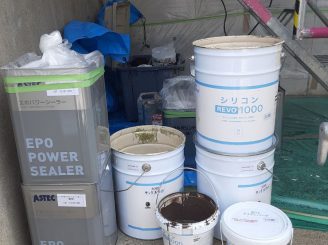
使用した塗料の空缶です。塗料は全て使い切ります。
■屋根カバー工法
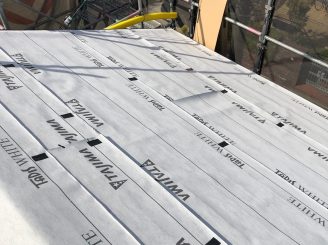
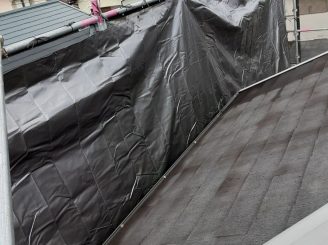
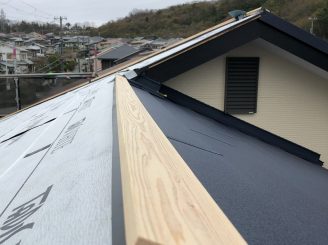
屋根はスーパーガルテクトという屋根材を使用し、カバー工法で施工します。ルーフィングシート(防水シート)を屋根の上からはります。
ルーフィングシートとは、野地板(屋根下地)の上に取り付けられている防水の為のシートです。屋根下地は基本的に木材で水分に非常に弱いので、ルーフィングシートの部分で確実に雨水の浸入を食い止める必要があります。耐用年数は約10~15年ほどです。
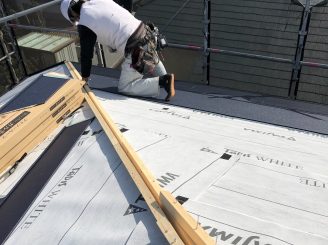
ルーフィングシートに上に屋根材を施工します。
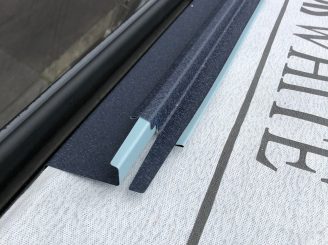
軒先部材設置
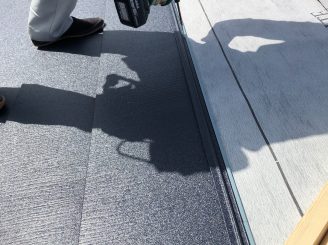
屋根材施工中
屋根材施工中 貫板を設置します。
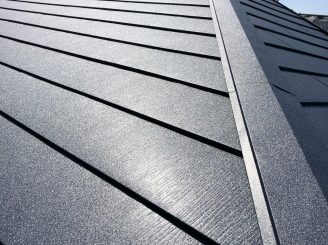
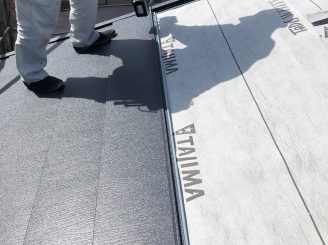
棟板金を設置 屋根カバー工法施工完了
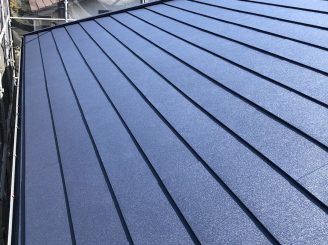
屋根カバー工法施工完了
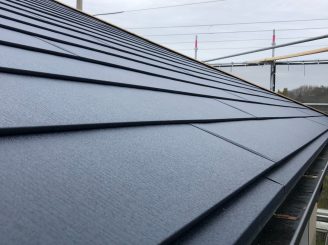
屋根カバー工法施工完了
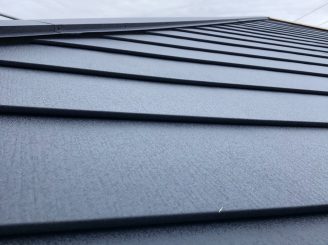
屋根カバー工法施工完了
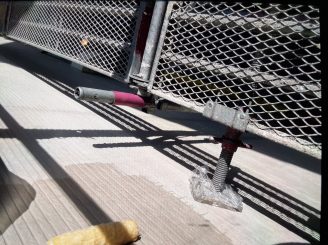
■付帯部分
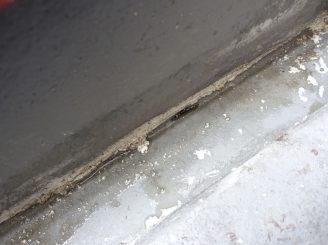
ベランダ床部分が一部劣化し、軒天に雨漏りが発生していました。劣化部分のFRP防水を除去して施工しなおします。
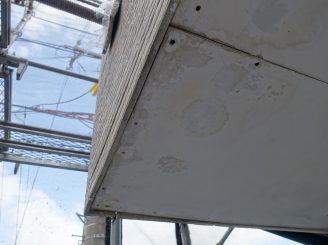
雨漏り箇所
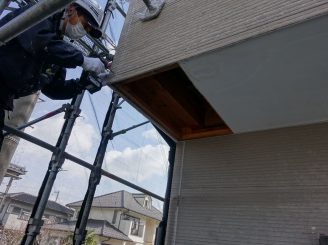
雨漏りした軒天も板を張り替えます。
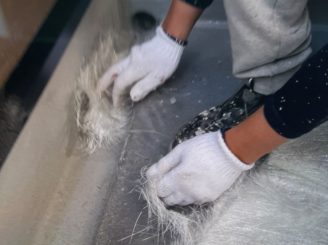
ベランダ床部分をケレンし、塗膜の付着率を高めます。
雨戸部分ケレン作業中
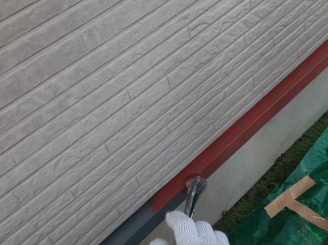
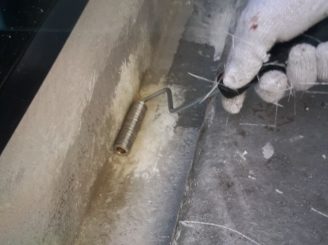
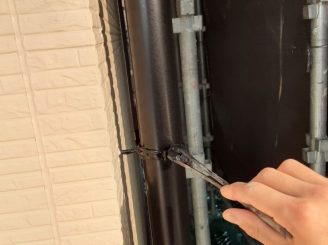
ケレン作業後、錆止めを施工します。水切り部分錆止め施工中

縦樋金具部分錆止め施工中
ベランダ劣化箇所に新しくFRP防水を施工します。ガラスを繊維状にし樹脂で固めたものを使用します。
施工中

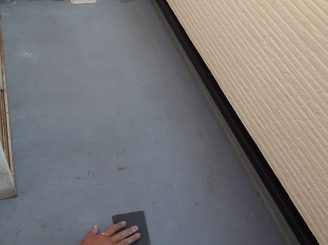
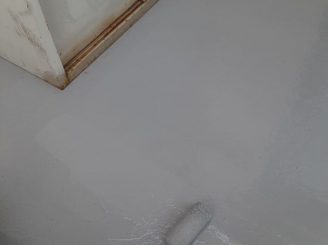
ベランダ床部分にプライマーを施工します。
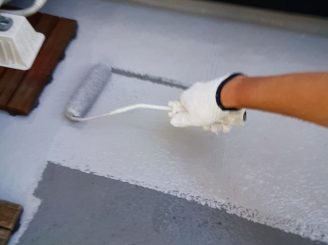
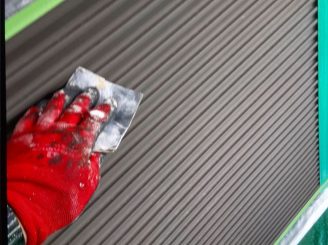
プライマー塗布後、ウレタン防水を施工します。ウレタン防水は2度重ね塗りをして厚みを作ります。
ベランダ床部分ウレタン防水2回目施工中
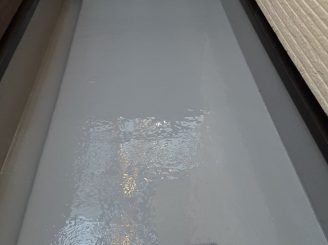
ベランダ床部分ウレタン防水2回目施工中
雨戸部分上塗り施工中
縦樋部分上塗り施工中

水切り部分上塗り施工中
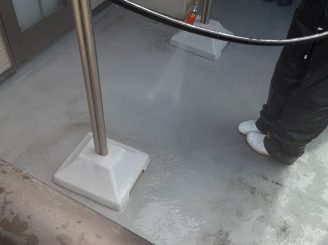
ベランダ床部分ウレタン防水施工完了

水切り部分塗装施工完了